

Introduction
So, you’ve decided to build your own gaming PC in 2025 – congratulations! That’s like graduating from console gaming to the DIY masterclass of tech. Building a PC may look intimidating at first: there are motherboards, GPUs, RAM sticks, and a sea of cables that resemble a spaghetti disaster. But once you get the hang of it, you’ll realize it’s more like assembling a high-tech LEGO set – just with a slightly higher price tag and fewer chances of stepping on a brick.
In this guide, we’ll take you through how to build a gaming PC step by step – from choosing your components to pressing that glorious power button for the first time. Whether you’re looking for the best budget gaming PC, a custom gaming PC build, or even exploring a high-end gaming PC build, this article will walk you through everything you need to know in 2025.
We’ll also discuss the latest component trends, best-value picks, and smart tips for maximizing performance without melting your wallet.
By the end, you’ll not only have a machine that runs your favorite titles smoothly but also a sense of pride that no prebuilt system can offer. Ready to become your own PC technician? Let’s get started.
Essential components you need for a gaming PC build (2025 edition)
Before you start plugging in cables and snapping in parts, you need to know what pieces make up the digital heart of your gaming machine. Think of your gaming PC like a superhero squad – each component has a vital role, and together they form the ultimate team that saves your FPS.
Here’s a quick overview of the core components you’ll need for PC building for beginners in 2025.
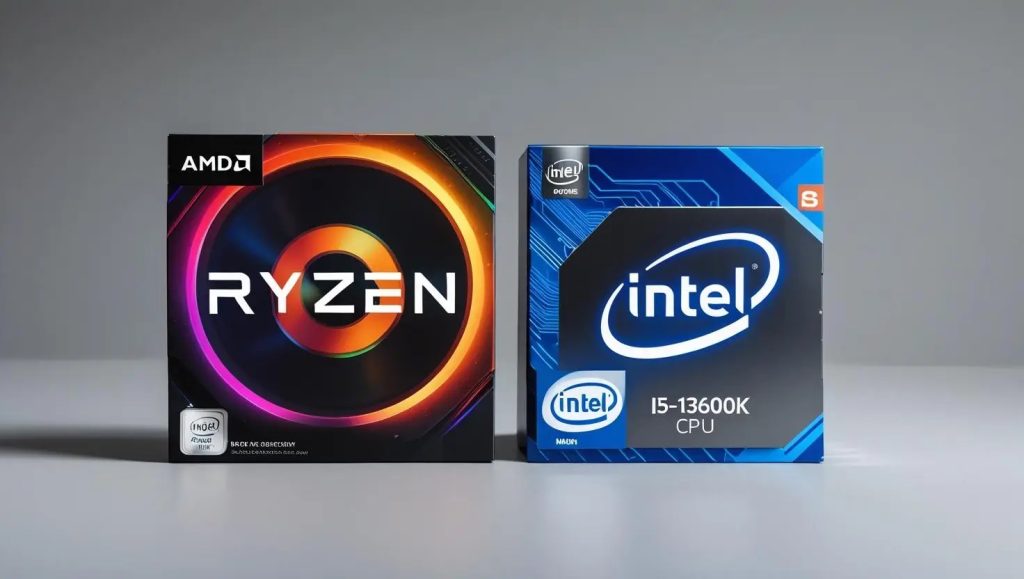
- The CPU (Central Processing Unit)
Your CPU is your PC’s brain. It handles all the logic, calculations, and overall performance.
In 2025, Intel’s 14th Gen Core i5/i7 and AMD Ryzen 7 7800X3D lead the charge for gaming. The Ryzen X3D series, in particular, offers fantastic value with its 3D V-Cache tech, which boosts frame rates without needing to overspend.
Pro tip: For a budget gaming PC build 2025, an AMD Ryzen 5 7600 or Intel Core i5-13600K is perfect for price-to-performance balance.
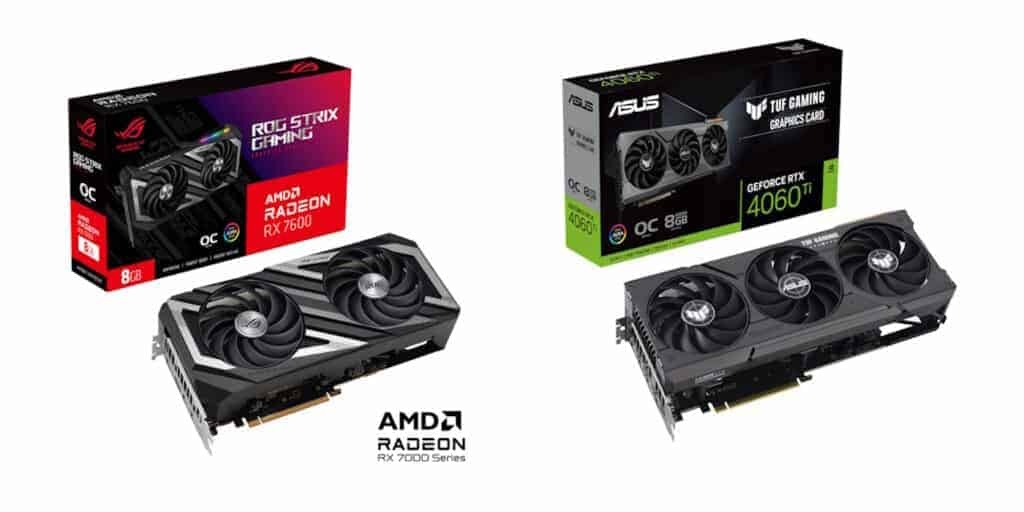
- The GPU (Graphics Processing Unit)
This is your PC’s muscle – the GPU determines how beautiful, smooth, and realistic your games look.
In 2025, NVIDIA RTX 4070 Super, RTX 4060 Ti, and AMD Radeon RX 7800 XT are the sweet spots for 1440p and 4K gaming.
If you’re chasing affordability, the RTX 4060 or RX 7600 will give you solid 1080p performance in a beginner gaming pc build.
- The Motherboard
Think of the motherboard as the central hub connecting all components.
It dictates compatibility – socket type, RAM slots, storage options, and more.
For example:
- AMD CPUs need AM5 motherboards (like B650 or X670).
- Intel chips need LGA 1700 boards (like B760 or Z790).
Choose wisely based on your CPU brand and desired features like Wi-Fi, RGB headers, and PCIe 5.0 support.

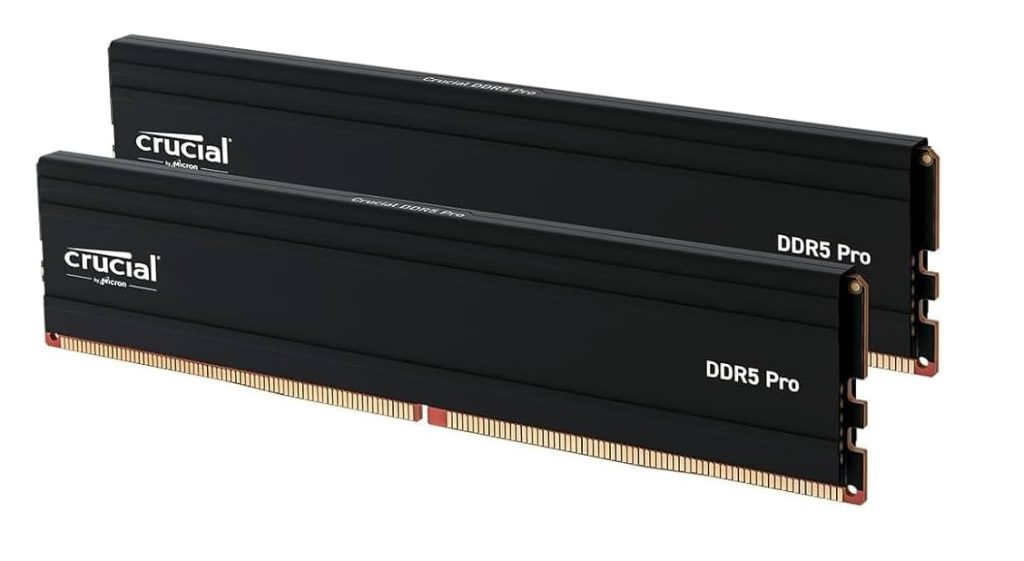
- RAM (Memory)
In 2025, 16GB DDR5 RAM is the minimum, but 32GB DDR5 is becoming the new sweet spot for gamers who multitask or stream.
Look for speeds around 6000MHz or higher for better performance.
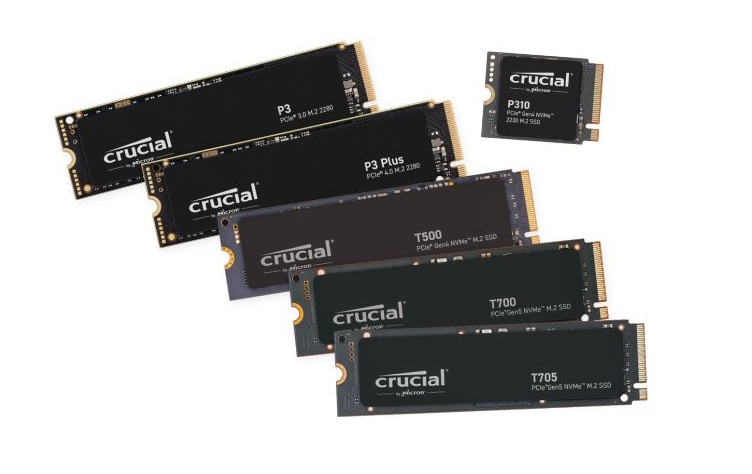
- Storage
Gone are the days of clunky hard drives.
Today, NVMe SSDs are the kings of speed, with lightning-fast boot and load times. A 1TB NVMe SSD should cover most gamers, but if your library’s massive, pair it with a secondary 2TB SSD for game storage.
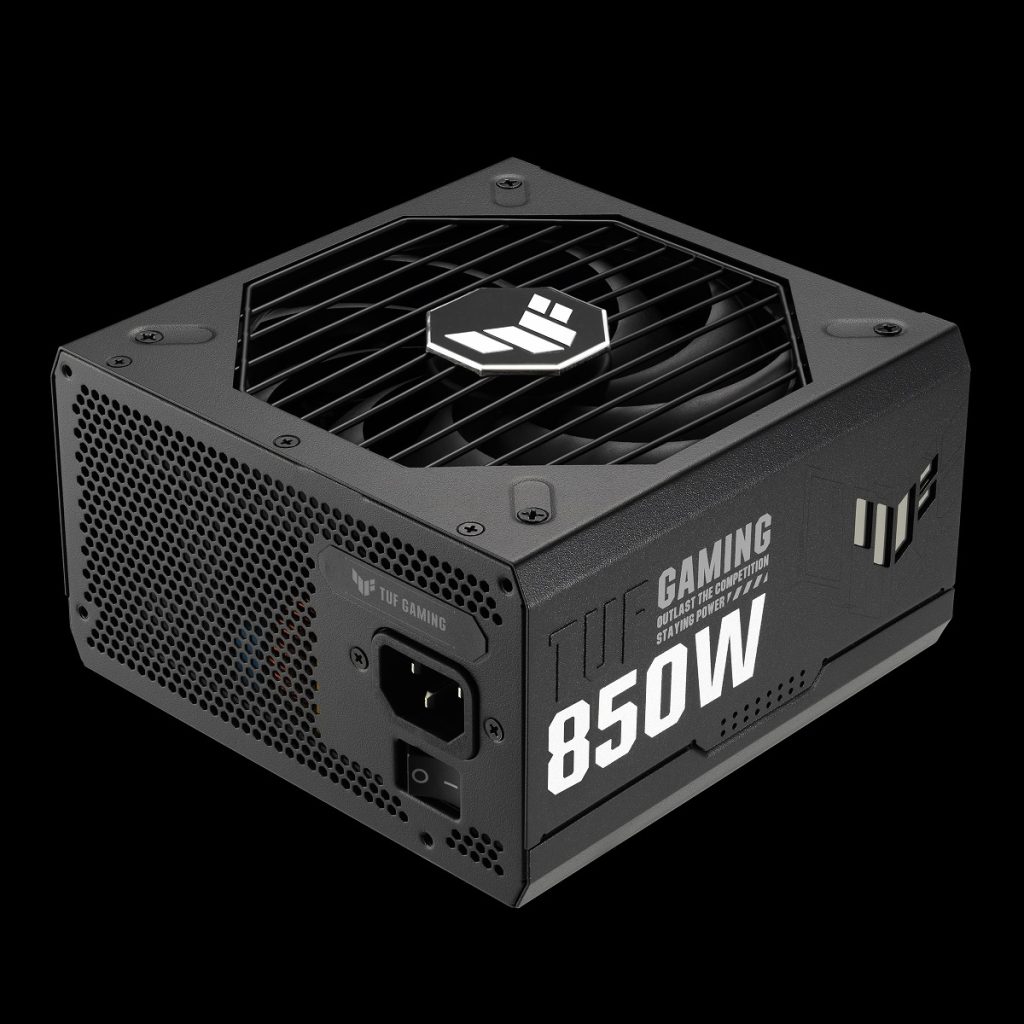
- Power Supply (PSU)
A reliable PSU is your system’s lifeline. Don’t cheap out here – it powers everything.
Go for an 80+ Gold certified PSU with enough wattage for your GPU and CPU combo. Typically, 650W–850W is ideal for most custom gaming pc builds.
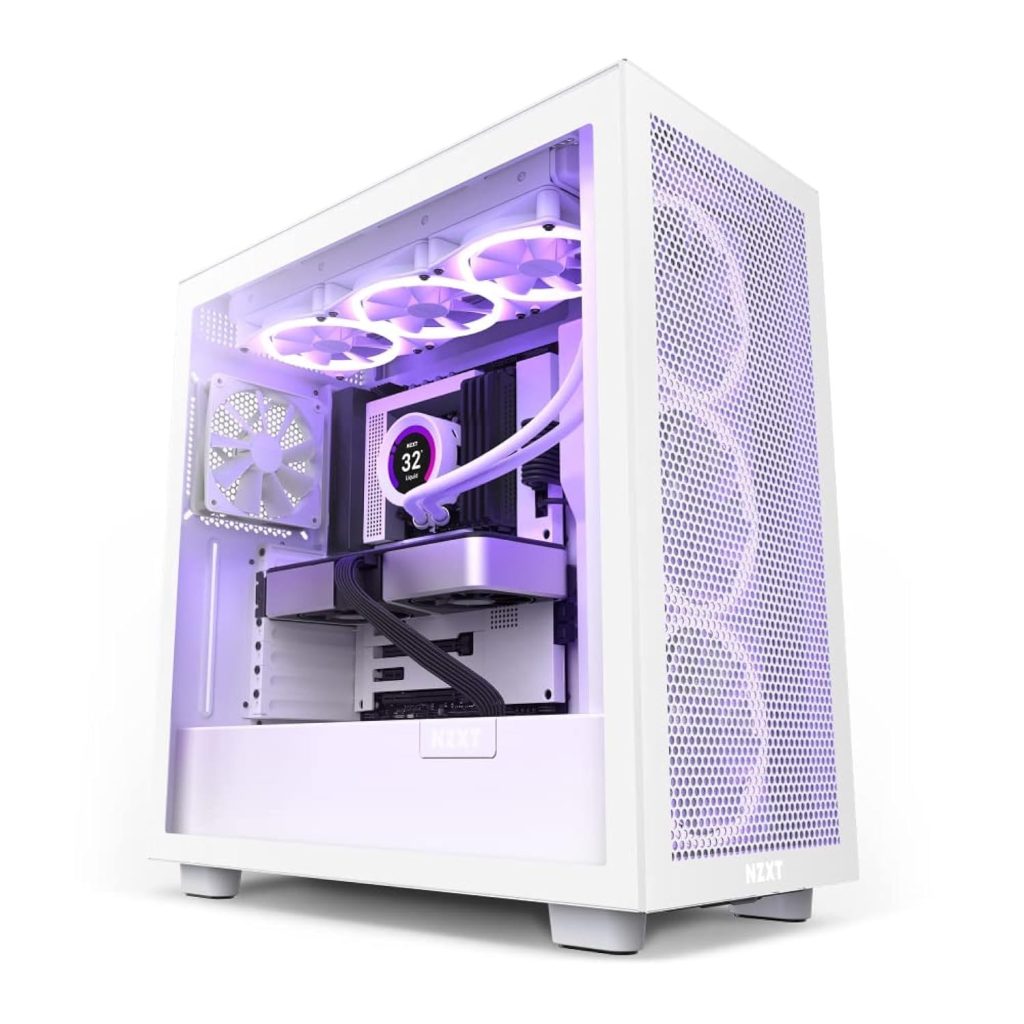
- PC Case
The case isn’t just about looks (though RGB certainly doesn’t hurt).
You need proper airflow, cable management options, and enough room for your GPU. Popular 2025 picks include NZXT H7 Flow, Lian Li Lancool 216, and Fractal Design North.
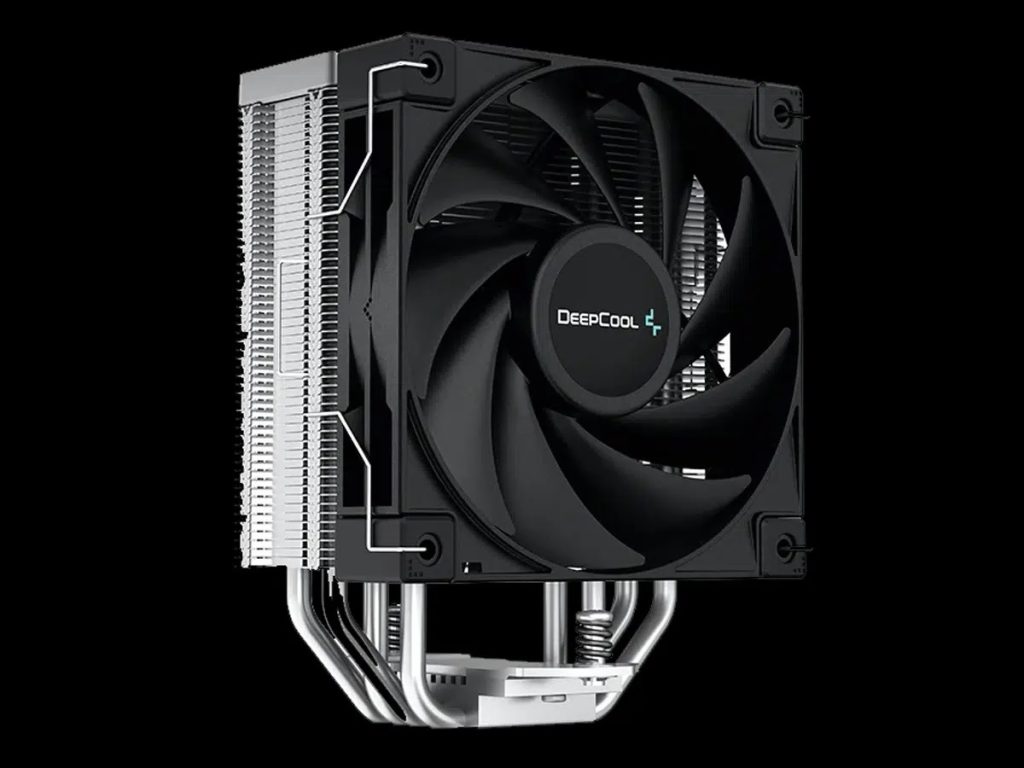
- Cooling System
Good cooling keeps your components running efficiently.
You can choose between air coolers (budget-friendly) and AIO liquid coolers (great for aesthetics and performance).
Even for a budget gaming pc build 2025, a solid air cooler like DeepCool AK400 or Cooler Master Hyper 212 Halo works wonders.
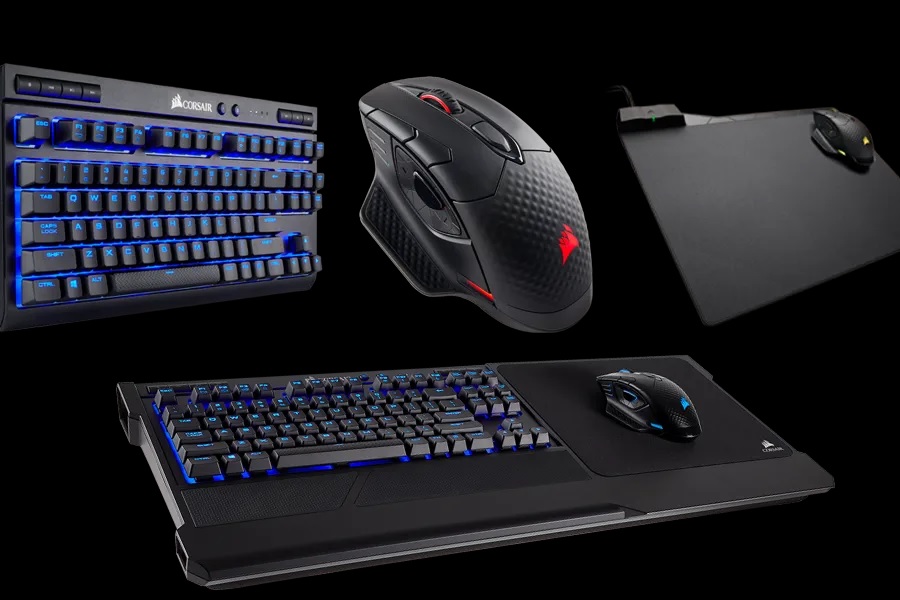
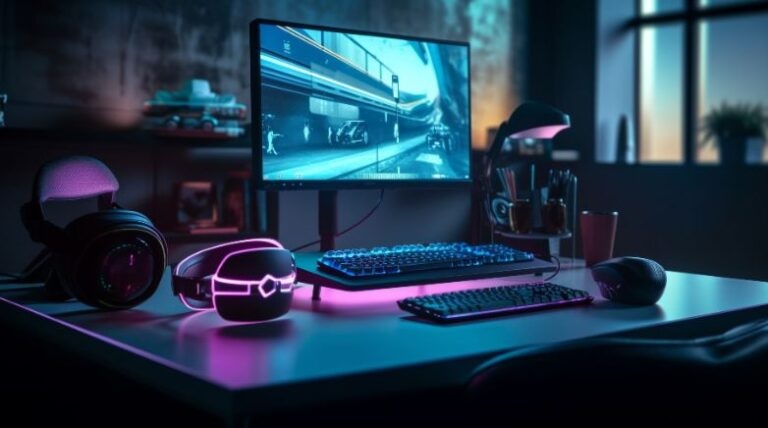
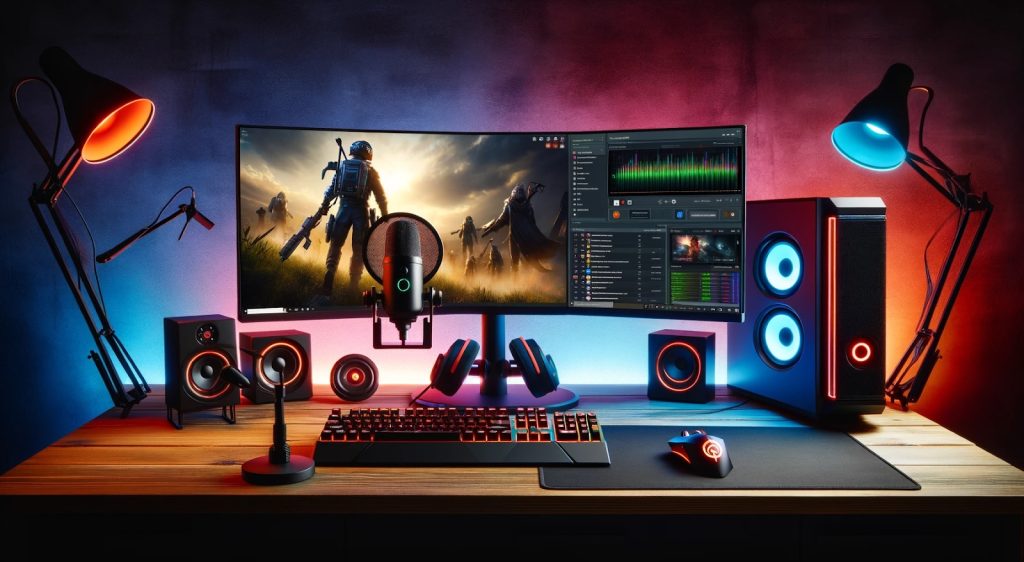
- Peripherals (Monitor, Keyboard, Mouse)
Don’t forget the accessories – they complete your gaming pc setup guide.
For beginners, aim for a 144Hz or 165Hz monitor, mechanical keyboard, and a responsive gaming mouse with customizable DPI.
Planning your build: matching performance with your budget
Building your first gaming PC is like grocery shopping with a twist – you can grab the premium stuff, but the budget aisle might surprise you too. Before you buy anything, you need a plan. This step ensures every dollar you spend brings visible performance gains, not just flashy RGB lights.
Let’s explore how to plan your build based on your budget and gaming goals in 2025.
Step 1: Define your gaming goals
Ask yourself what you want from your PC:
- Casual gaming: Playing lighter titles like Valorant, CS2, or Fortnite at 1080p.
- Performance gaming: Smooth 1440p or 4K gaming in modern titles like Cyberpunk 2077 or Starfield.
- Streaming & content creation: Gaming while streaming, editing, or multitasking.
Once you identify your main use case, you can target your build accordingly.
Step 2: Set a realistic budget
Let’s break down common 2025 price tiers for gaming PC build planning:
| Build Type | Price Range (USD) | Performance Level |
| Entry-level / Budget | $700 – $1,000 | Great for 1080p gaming |
| Mid-range | $1,000 – $1,600 | Smooth 1440p performance |
| High-end | $1,700 – $2,500+ | 4K gaming and heavy multitasking |
If you’re going for a budget gaming pc build 2025, prioritize CPU and GPU – they have the biggest impact on gaming performance.
Step 3: Balance your components
Avoid “bottlenecks.” No, it’s not a soft drink term here – it means one weak component limits the power of another.
For example, pairing a Ryzen 5 7600 with an RTX 4090 wastes potential, while using a Core i9 with an entry-level GPU does the same.
Use online PC part picker tools to check compatibility and power needs before buying.
Step 4: Leave room for upgrades
PC technology evolves faster than your Steam library backlog. Plan ahead:
- Get a motherboard with extra RAM slots.
- Choose a PSU with extra wattage.
- Pick a case that fits larger GPUs or extra cooling.
This makes your custom gaming pc build future-proof for upcoming hardware releases.
Step 5: Check deals and bundles
In 2025, GPU and CPU prices have stabilized compared to the chaos of previous years, but deals still vary by season.
Keep an eye on sales events like Black Friday, Prime Day, or Newegg Gamer Week – you can often save $100–$300 on a full beginner gaming pc build.
Quick Pro Tip
If you’re new to this, avoid prebuilt systems that promise “ultra performance” for suspiciously low prices. Building it yourself ensures you know exactly what’s inside, and you can easily upgrade down the line.

Step-by-step assembly: how to build your gaming PC (for beginners)
Here’s where the magic happens – the assembly process. Whether you’re building a best budget gaming pc or a high-end powerhouse, these steps remain mostly the same. So grab your screwdriver, ground yourself (literally – static discharge is no joke), and let’s build your dream rig!
Step 1: Prepare your workspace
Before you even touch the components, find a clean, well-lit surface – ideally a table big enough for your PC case and parts. Avoid carpeted floors; static can damage sensitive components.
You’ll need:
- Phillips screwdriver (preferably magnetic)
- Anti-static wrist strap
- A small bowl or tray for screws
- Patience (lots of it)
Pro tip: Keep your manuals nearby – every motherboard and case is slightly different.
Step 2: Install the CPU
- Open your motherboard’s CPU socket latch carefully.
- Align the CPU’s triangle mark with the one on the socket – it only fits one way.
- Gently lower the CPU into place and lock it down.
Don’t force it. CPUs are like puzzle pieces – they only fit one way, and breaking a pin is heartbreak in silicon form.
Step 3: Add your cooler
If you’re using the stock cooler, attach it with the pre-applied thermal paste facing the CPU. For aftermarket coolers, apply a small pea-sized amount of thermal paste before mounting.
Tighten screws evenly and connect the CPU fan cable to the CPU_FAN header on your motherboard.
Step 4: Install your RAM
Open the RAM slots by pressing the clips outward.
Insert the RAM sticks into alternating slots (check the motherboard manual for the correct configuration).
Push until you hear a click – that sound means victory.
Step 5: Mount the motherboard
Now place your motherboard inside the case on top of the pre-installed standoffs.
Screw it in gently – don’t overtighten.
Plug in the 24-pin power cable and the 8-pin CPU cable from your power supply later once it’s installed.
Step 6: Install the power supply (PSU)
Slide your PSU into the bottom or rear compartment of your case (depending on design).
Ensure the fan faces the correct direction – usually outward or downward toward ventilation holes.
Secure it with four screws and keep the cables tidy.
Step 7: Add storage drives
Insert your NVMe SSD into the M.2 slot on the motherboard and secure it with a tiny screw.
For additional SSDs or HDDs, mount them in drive bays and connect them via SATA cables.
Step 8: Install your GPU
Now, for the star of the show.
- Remove the PCIe slot covers from your case.
- Insert your GPU into the top PCIe x16 slot until it clicks.
- Screw it securely to the case frame.
- Plug in the PCIe power connectors from your PSU.
This is the moment you’ll probably take a photo – and yes, you’ve earned it.
Step 9: Connect case cables
This part can test your patience. Connect:
- Front panel connectors (power switch, reset, LED)
- USB 3.0 / USB-C headers
- Audio header
- Case fans to motherboard fan headers or fan hubs
Your motherboard manual will be your best friend here.
Step 10: First power-on test
Before you close everything up, perform a test boot.
- Connect the PSU to power.
- Press the power button.
If you see fans spinning and lights turning on – congrats! If not, check power cables and CPU/RAM seating.
Once you get a signal on your monitor (the BIOS screen), you’ve officially succeeded in your ‘how to assemble a gaming pc’ mission.
Installing your operating system and drivers
Congrats – you’ve built your first gaming PC! Now comes the digital half of the journey: giving your machine a brain (the operating system) and teaching it how to use its new muscles (drivers).
Even if you’ve built the best gaming pc build 2025, it won’t shine until the software side is properly set up. Let’s walk through it step by step.
Step 1: Install Windows (or your OS of choice)
In 2025, Windows 11 is still the go-to platform for gaming, thanks to full DirectX 12 Ultimate support, auto-HDR, and Game Mode optimization.
- On another computer, download the Windows 11 Media Creation Tool from Microsoft’s official website.
- Create a bootable USB drive (8GB or larger).
- Plug the USB drive into your new PC.
- Enter the BIOS (usually by pressing Delete or F2 on startup).
- Set the USB as the primary boot device.
- Follow the on-screen instructions to install Windows on your SSD.
Once installed, connect to Wi-Fi or Ethernet to start downloading drivers automatically.
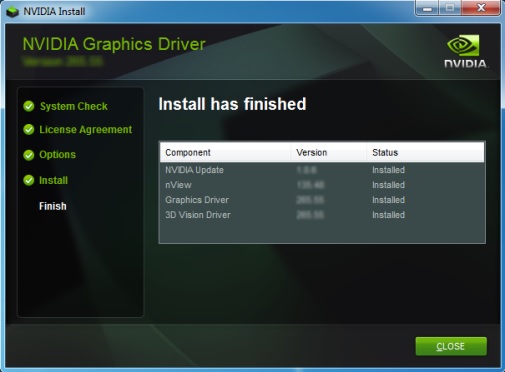
Step 2: Install essential drivers
While Windows will handle basic drivers, you’ll want to manually install the latest versions for maximum performance:
- GPU Driver:
- Visit NVIDIA GeForce Experience or AMD Adrenalin Software to install the latest driver for your GPU.
- Motherboard Driver:
- Go to your motherboard manufacturer’s website to grab chipset, LAN, and audio drivers.
- Peripheral Drivers:
- For gaming mice, keyboards, or headsets, download companion software like Logitech G Hub or Razer Synapse.
Keeping your drivers updated can easily add 10–15% more performance in newer games – that’s a free upgrade you shouldn’t skip.
Step 3: Update BIOS (optional but recommended)
A BIOS update can improve stability, fix bugs, and enhance CPU performance. However, only do this if your motherboard manufacturer explicitly recommends it.
Always follow their step-by-step instructions – a failed BIOS update can be risky.
Step 4: Install gaming essentials
Once your system is running smoothly, install your favorite platforms:
- Steam – the classic for PC gaming.
- Epic Games Store – for exclusive titles and free weekly games.
- Xbox Game Pass – an amazing deal for all-access gaming.
Then, download monitoring tools like MSI Afterburner (to track temperatures and FPS) and HWMonitor (for system health).
Step 5: Optimize for performance
Here are some quick tweaks to get the best out of your pc build guide 2025:
- Enable XMP (for Intel) or EXPO (for AMD) in BIOS to run your RAM at full speed.
- Turn on Windows Game Mode and Hardware-accelerated GPU scheduling.
- Disable unnecessary startup apps.
- Regularly clean dust filters and monitor CPU/GPU temps.
These little steps keep your system fast, efficient, and ready for marathon gaming sessions.
Optimizing and maintaining your gaming PC (for long-term performance)
So, your shiny new gaming PC setup is up and running – fans humming, RGB glowing, and performance feeling buttery smooth. But here’s the thing: like a car or your favorite gaming chair, your PC needs a little upkeep to stay in peak condition.
Let’s walk through how to keep your beginner gaming pc build performing like a champ for years.
Step 1: Keep your system clean
Dust is the silent performance killer. Over time, it clogs fans and traps heat, forcing your components to work harder and louder.
Every 2–3 months:
- Power off and unplug your PC.
- Open the case side panel.
- Use compressed air to blow out dust from fans, vents, and radiators.
- Wipe surfaces gently with a microfiber cloth.
Pro tip: Always hold fan blades in place while cleaning to prevent damage to their bearings.
Step 2: Monitor temperatures
Keeping an eye on temperatures ensures your PC doesn’t overheat – especially in high-end builds.
Use tools like:
- MSI Afterburner or HWMonitor for real-time tracking.
- NZXT CAM for detailed performance stats.
Target temperatures:
- CPU: 30–80°C (depending on load)
- GPU: 30–85°C (under gaming load)
If temps are too high, check fan curves, apply fresh thermal paste, or improve case airflow.
Step 3: Keep software updated
Drivers and firmware updates fix bugs, boost performance, and add support for new games.
- Update GPU drivers monthly (especially before major game releases).
- Check for Windows Updates weekly.
- Visit your motherboard’s support page occasionally for BIOS and chipset updates.
Remember: an outdated driver is often the root cause of crashes or FPS dips.
Step 4: Manage your storage
SSD health matters. Keeping your drives clutter-free helps maintain speed.
Monthly cleanup checklist:
- Uninstall unused games.
- Run the Windows Storage Sense tool.
- Keep at least 15–20% free space on each drive for best performance.
If you use multiple drives, set your main SSD (C:) for OS and active games, and a secondary SSD for storage.
Step 5: Back up your data
A power surge, drive failure, or rogue update can ruin your progress in seconds.
Use cloud backups (OneDrive, Google Drive) or external SSDs to save game data and settings.
Set up automatic backups – trust me, future-you will thank you.
Step 6: Upgrade smartly
Your 2025 build might be amazing today, but in a couple of years, you may want to boost performance.
Here’s how to plan upgrades wisely:
- Start with GPU – easiest and most impactful upgrade.
- Next, consider RAM and storage.
- Finally, look into a CPU and motherboard refresh when new platforms drop.
The beauty of a custom gaming pc build is flexibility – you control when and what to upgrade.
Conclusion: your gaming PC journey starts here
You did it – you just learned how to build a gaming PC step by step in 2025! What once seemed like a jumble of tech jargon and fragile parts is now a fully functional machine you assembled yourself. Whether you went for the best budget gaming pc or a top-tier high end gaming pc build, you’ve joined an elite club of DIY gamers who truly understand what’s inside their rig.
The best part? You now have complete control. Want more RGB? Add it. Need more speed? Upgrade it. Every click, every screw, and every decision you made was a step toward creating your own custom-built digital masterpiece.
So fire up your favorite game, crank up those settings, and listen to the sweet hum of your PC – that’s the sound of accomplishment.
And remember, building a PC isn’t just about saving money or chasing performance; it’s about learning, experimenting, and enjoying the process. The next time someone says, “I could never build one myself,” you’ll know better.
Here’s to your first build – and the many that will follow.
❓ Frequently asked questions (FAQ)
1. Is it cheaper to build your own gaming PC in 2025?
Generally, yes – especially for mid-range and high-end systems. Prebuilts add markup for assembly and support. By building your own, you can choose better parts for the same money and upgrade when you want.
2.How long does it take to build a gaming PC for the first time?
For beginners, expect 3–5 hours. It’s not about speed; it’s about care and learning. The more you build, the faster it gets – like riding a bike, but with fewer scraped knees.
3.Do I need expensive tools to build a PC?
Nope! A good screwdriver and patience are your main tools. An anti-static wrist strap is optional but recommended for safety.
4.What’s the most important part of a gaming PC?
For gaming specifically, the GPU (graphics card) has the biggest impact on performance. But balance is key – pairing a strong GPU with a capable CPU and fast SSD ensures a smooth experience.
5.Should I go for air cooling or liquid cooling?
If you’re on a budget or building your first rig, air cooling is reliable and simple. For overclocking or aesthetics, AIO liquid coolers look sleek and perform slightly better, but they’re pricier.
6.How do I know if my components are compatible?
Use tools like PCPartPicker.com – they flag incompatible parts and estimate total power needs, making pc building for beginners much easier.